Showing posts with label car seat cover. Show all posts

Monday, June 18, 2012

Tutorial: Car Seat Canopy With Elastic

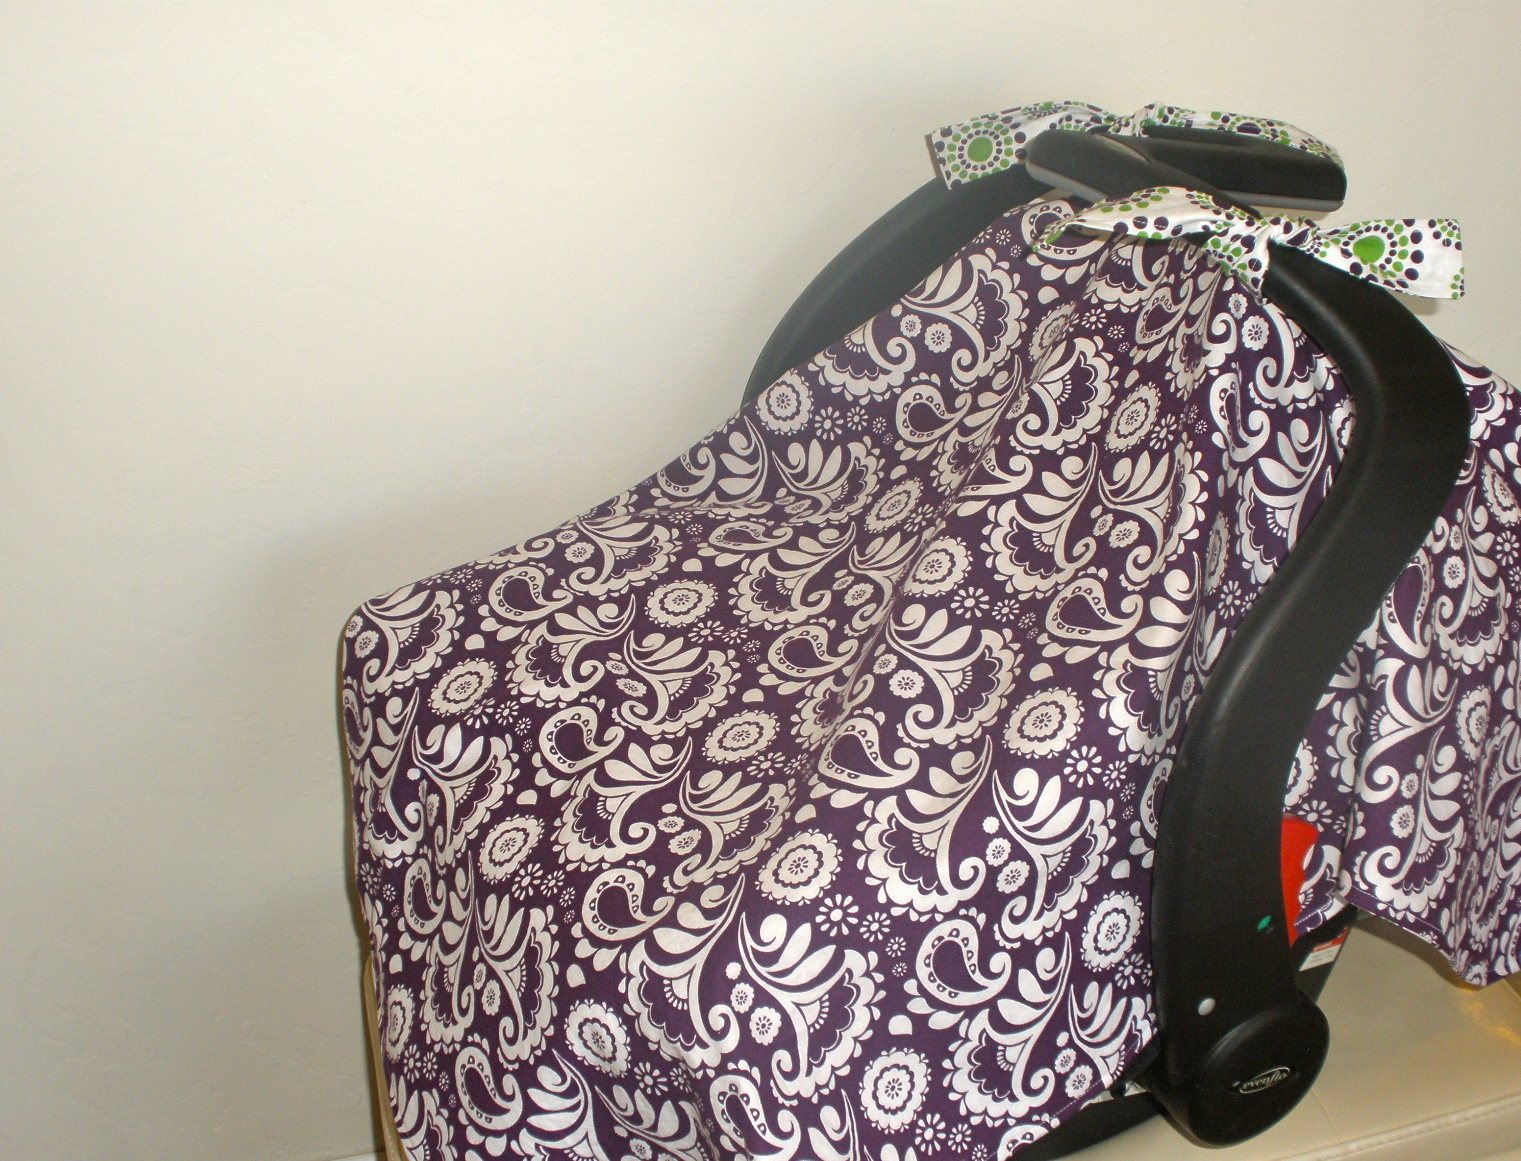
A car seat cover with elastic is great for cold or windy weather. I sell these at my etsy store (Itty Bitty Fashion) but if you want to make your own, I am happy to share the steps I took! 


STEPS:
1. Cut top & bottom fabric 45 1/2" x 35 1/2"


2. Place the fabrics right sides together, place a cutting mat under each corner, take a paper plate, and cut the corners around the side of the paper plate.

Here's what the corners will look like after you cut. Stick a sewing pin in each corner to hold the two fabrics together.

3. Sew around the edge and leave a 5" opening. Seams are 1/4".

4. Cut slits into the corners (but not past where you've sewn). This allows the fabric to curve better when turned inside out.

5. Now turn the cover inside out and where your opening is start sewing 1"-1 1/2" from the edge. This is to create a pocket for your elastic so make sure it will be enough room for your elastic to thread through. Go all the way around. 

 5 1/2. Yes this is a half step :) I put my straps on after I did the elastic to make sure they were in the right spot, but I would suggest doing your straps at this point. See steps 10-13. Aren't you glad you can learn from my mistakes?!

6. Take your 1/2" or 3/4" elastic (I used 2 yards and then trimmed what was left) and put a safety pin through it. 

7. Thread your elastic all the way around and pull it tight to your liking. I cut my elastic and ended up using about 4 feet total, just in case you're making this for someone else!

8. To connect the two ends of my elastic I used my serger. If you don't have a serger, overlap the two ends and sew through & back a couple of times to ensure it holds. 

9. Now you can sew the opening. Fold in your fabrics so no raw edges are showing and make sure not to sew over the elastic. 

 10. Now for the straps. Fold them right sides together hot dog style (length wise). Sew around one short edge and along the long edge with a 1/4" seam. 

11. Trim the corners.

12. Turn the straps inside out, fold the fabric in on the one edge you didn't sew, start there and sew around the edges with a 1/4" seam. Sew again over the short edge when you come back around to ensure a strong hold. 

13. Place your straps on your carseat cover at 16" down and 12" across. I did a square with an X. 


Thursday, December 8, 2011

New Items On Etsy

I don't believe I've mentioned this here... but I am expecting baby girl #2 on the 20th of this month! So you may not hear from me, but I hope to keep up with posting. In the meantime, I've added a great amount of items to my etsy shop, Itty Bitty Fashion, and wanted to share!

You can see all of my items on etsy here.

Here's some quick pictures:


Friday, September 3, 2010

Tutorial: Car Seat Canopy

Jamie, you wanted to know how to make a car seat cover...
here is my version!


1. Cut your 2 pieces of fabric as close to 36 inches as you can (this way you only have to buy 1 yard of your top fabric) x 40". I buy 1 1/4 yard of my bottom fabric.
2. Place the two pieces of fabric right sides together 
NOTE: if you want to applique a design onto your front (like I did with "BSU", you'll want to put that on first before step number two.
3. Cut 2 pieces for straps 3 1/2" x 15 1/2"
4. To make straps; fold them hot dog style, and sew all but one edge. Turn it inside out, fold in the open edge, and then sew around the edges (1/4" seam). I used a different color of thread here as an accent color. See picture below!
5. Now sew your two large pieces of fabric (remember right sides together) leaving about a 6 inch opening.
6. Turn it inside out, then fold in and pin the opening.
7. Sew around the edge of the whole cover and as you do so, this should close that 6 inch opening. This is where you can do a fun decorative stitch and even pick a different top and bottom color of thread to make things interesting!
8. Lastly, sew on your straps! You'll want to fold them in half and pin them 14" from the top and 12" from each side of your cover. Sew a little square to hold the strap. Sew it to all the layers of fabric! I also went over the square twice to really make sure it holds. 


- The straps are just made to be tied to your car seat. If you tie them in a knot it ends up looking really cute.
- Have fun, and be creative! You can do more than one fabric, like I've done here. Or if you only have scraps you can sew strips of fabric together until it is long enough to make a cover. Add your own personal touch!
- I made the letters by typing them in in Microsoft Word and then formating them to only be outlined, I printed them out and cut them out, using them as my pattern to cut the fabric out. I did a zig-zag stitch to sew them onto the orange fabric.

Enjoy and let me know if you have questions; I want to make sure this works for you!