Tuesday, June 29, 2010

Giveaway Coming Soon!

I am headed to my hometown Boise, Idaho. When I return home, I plan to do my first official giveaway!! Drum roll please .... I'll be giving away an APRON


Here's a sneak preview of some that have already been made:

Friday, June 25, 2010

Binding

Here are the steps I follow to bind a quilt:
(A walking foot works nicely for this task)

1. Cut your binding fabric in 2 1/2" strips, sew strips together end-to-end, iron in half wrong sides together.
2. Place the folded fabric onto the BACK of your quilt with the raw edges on the edge of the quilt, place it about 6 inches from a corner, & start sewing with the fabric lined up to the edge of your binding about 6 inches down. A little trick I like to do is put in for your bobbin thread a color that matches the top part of your quilt because then when you are folding over the binding and it accidentally doesn't cover up your stitch (this will make more sense later) then at least the stitch is slightly camouflaged!
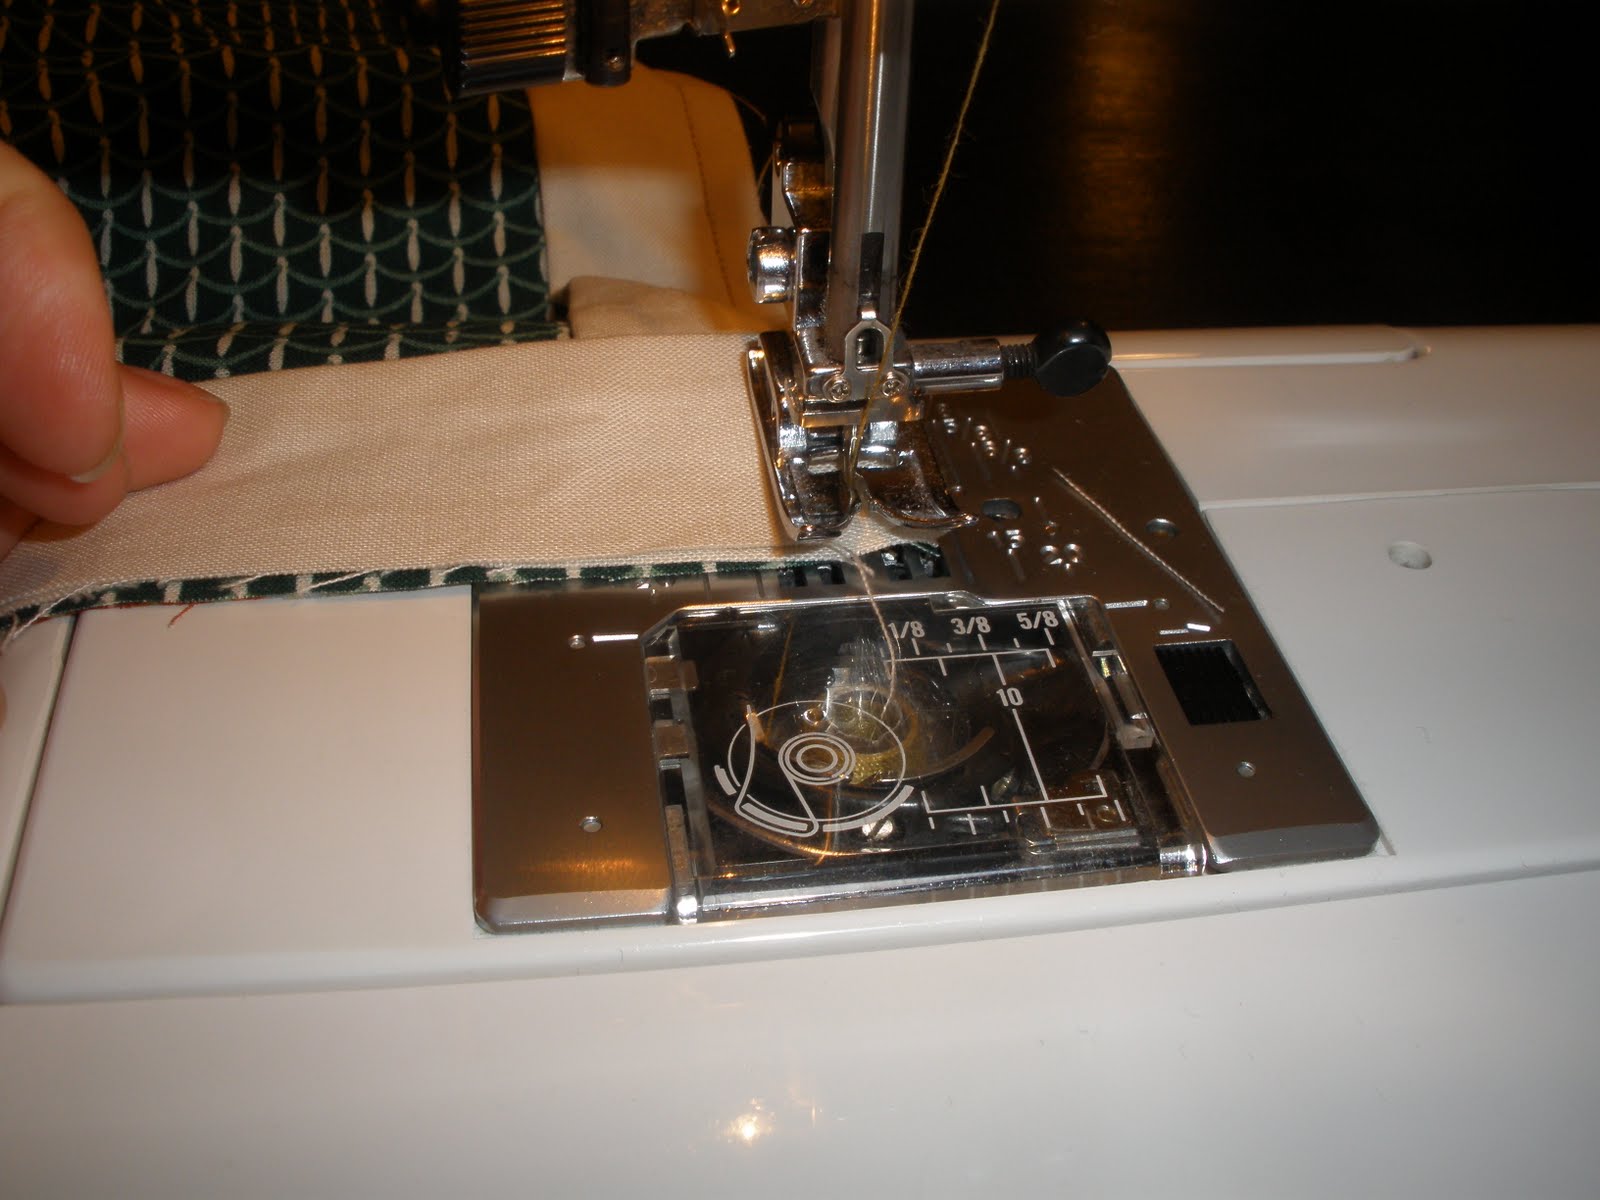
3. At the corner, sew all the way down to the edge, lift up the pressure foot (I don't cut the thread at all during this process) and fold your binding so it is parallel with your quilt like below:
3a. Then hold your fabric there while folding the binding back over.
3b. Put your needle down into your quilt & binding about 1/4" from each side.
3c. Put your pressure foot back down and start sewing again!
4. Once you've returned back to where you started, trim your binding to overlap a bit.
4a. Fold down your binding on one edge.
4b. Tuck in the other edge of your binding into the folded one (this prevents any raw edges so your binding doesn't fray). Sew over that and at least 3 inches over your beginning stitch.
5. Now you're ready for the LAST step! Turn your quilt over and simply fold the binding. All you have to do is sew! I like to do a decorative stitch here because it is more forgiving for crooked sewing, it covers more surface area to connect the binding to the quilt, and it can add a good "cute" element to a quilt!

Good luck in all of your binding endeavors! Are there binding tips that work well for you? If so, do share! That is the purpose of my blog after all! (Hope you don't mind all of the exclamation marks, it tends to be my favorite punctuation).

Tuesday, June 22, 2010

Tid Bit Tuesday

One great way to clean your sewing machine is to buy some compressed air in a can! If you don't have any of that readily available, use a q-tip to grab the lint out. Keeping your machine clean is important because otherwise it may not sew smoothly or could sound funny.

Saturday, June 19, 2010

10 Step Shirt - Ruffle Me Up!

Ruffle Me Up!
- After almost giving away these shirts, I thought I might be able to get just a bit more use out of them! Here is my 10 step process to spice up any of your plain shirts! -
Before:
1. Cut two 3" strips the length of your fabric. My shirts are size small and two strips covered from top to bottom. If you think you'll need more length, just cut an additional strip of fabric.
2. Sew the strips together end-to-end.
3. Fold your long strip in half, right sides together and sew straight down.
4. Put the seam in the middle
5. Sew only one edge together (fabric still right sides together)

6. Turn inside-out and press with the seam in the middle
7. Put your fabric seam side up on your sewing machine and sew straight down with a stitch length of 5.0
8. Ruffle the fabric
9. Start pinning with the end of the fabric that you have sewn together. Make sure the fabric is flat because it will try to curl on you.
10. Change stitching back to its normal measurements and sew! Start sewing on the same end as step 9.

**Back stitch anytime you start or finish sewing your ruffle onto your shirt. Also, stop sewing about an inch away from where you'd like to stop because you'll need to trim the fabric. Leave an extra 1/4" of fabric at least so you can fold the fabric inward and finish sewing it onto your shirt. That way you have no salvage edges that will fray.

Wednesday, June 16, 2010

3 Step No-Sew Headbands


I debated whether or not this could really be put up on my blog...seeing as how there's no sewing involved! But it's such a great idea and easy process that I had to post about it. The size of this headband is for infants/toddlers. They are my favorite headbands to put on my daughter because they don't squeeze her head and the nylon is so soft on her skin!

1. Take an old or new nylon sock

2. Bring the two ends together and tuck the toe part into the opening on the other side. Then fold that in half. Put in a dab of hot glue into the middle and press (hot glue will seep through the layers since nylon is so thin).


3. Simply add your flower with another dab of hot glue! You can also put on a bow, lots of ribbon, a bead in the middle of the flower (as shown below), or little strips of fabric. I like adding the "pretties" to the middle - like anything that resembles a bracket so you can just punch through the flower and you're done! Remember to add those types of things before you hot glue the flower on.