Showing posts with label binding. Show all posts

Monday, November 28, 2011

Quick-Tip: How Much Fabric For Binding A Quilt?

I always use 2 1/2" wide strips for binding my quilts. 
Here's a formula to figure out how much fabric to purchase to bind your, well, any project that requires binding really! 

(width of quilt in inches + length of quilt in inches) times 2 + 24" = amount of inches for total binding. 
Divide the total by 40 and round up, that = the total amount of strips. Times that total by 2.5 and that = the amount of inches of fabric needed.

Make sense? Here's another way to look at it:

(width of quilt in inches + length of quilt in inches) x 2, + 24" = amount of inches for total binding.
Amount of inches for total binding divided by 40 = the total amount of strips to cut (round this # up if a decimal). 
(Amount of strips to cut) x 2.5" = amount of inches of fabric needed

Monday, May 9, 2011

Quick-Tip: Batting


I have been purchasing the cheapest batting at JoAnn's - you know, the one they have rolled up and it is normally $12.99, but with your 40% off coupon it is a steal of a deal? I'm sorry I don't have details, apparently I need to pay more attention to the batting I am buying! Anyway, this particular batting was part cotton and polyester as well as about a half inch thick. It worked well enough for me until one day I decided to buy a thinner batting for a baby blanket. (Quick-tip within a quick-tip: thinner batting is nicer for baby blankets because it is easier for the mom to wrap the baby up in the blanket. Something I determined after having my first child.) 

So I bought something like this:


This batting is more like 1/4" thick and made of cotton. When I went to do the stippling on the quilt it was 10 times easier, my fabric (top and bottom) didn't bunch and create folds, and it was easier to trim up the edges for binding. When it came time to bind the quilt, I couldn't believe how much easier that was to do! I had no problems at all! Plus my binding didn't have any folds in it and my corners turned out perfect. 

I've been seriously quilting for 3 years now and I have always had some type of issue when it came to binding. I couldn't believe the difference a change it batting made. So now I will be changing my batting purchasing habits! 

Wednesday, September 1, 2010

Quick-Tip for Binding A Quilt

If you are binding a quilt with 2 1/2 x 40" binding strips, follow these guidelines:

Kids: cut 6 strips
Lap: cut 7 strips
Twin: cut 9 strips
Queen: cut 10 strips
King: cut 13 strips

If you have any leftovers, keep them! Label them in a gallon-sized ziplock as "binding". One fun thing I like to do with binding is cut up a lot of different fabrics (ex: different fabrics used within the quilt I am binding) and sew those together for my binding. If I have leftover pieces of binding it saves me some time!

Monday, August 23, 2010

The Yardage Card

When this card was handed to me, I decided I must share it! It's called "The Yardage Card", and as you can see it is put together by Quilters Newsletter. 

It is pretty self-explanatory, simple, and packed with information to hold in your wallet for a quick look when you're at the fabric store. The "How to Seam" figure indicates where to join fabric for the backing on each different size of quilt. 
If you'd like for this information to be in your wallet, simply click on the picture to print it out. 

Friday, June 25, 2010

Binding

Here are the steps I follow to bind a quilt:
(A walking foot works nicely for this task)

1. Cut your binding fabric in 2 1/2" strips, sew strips together end-to-end, iron in half wrong sides together.
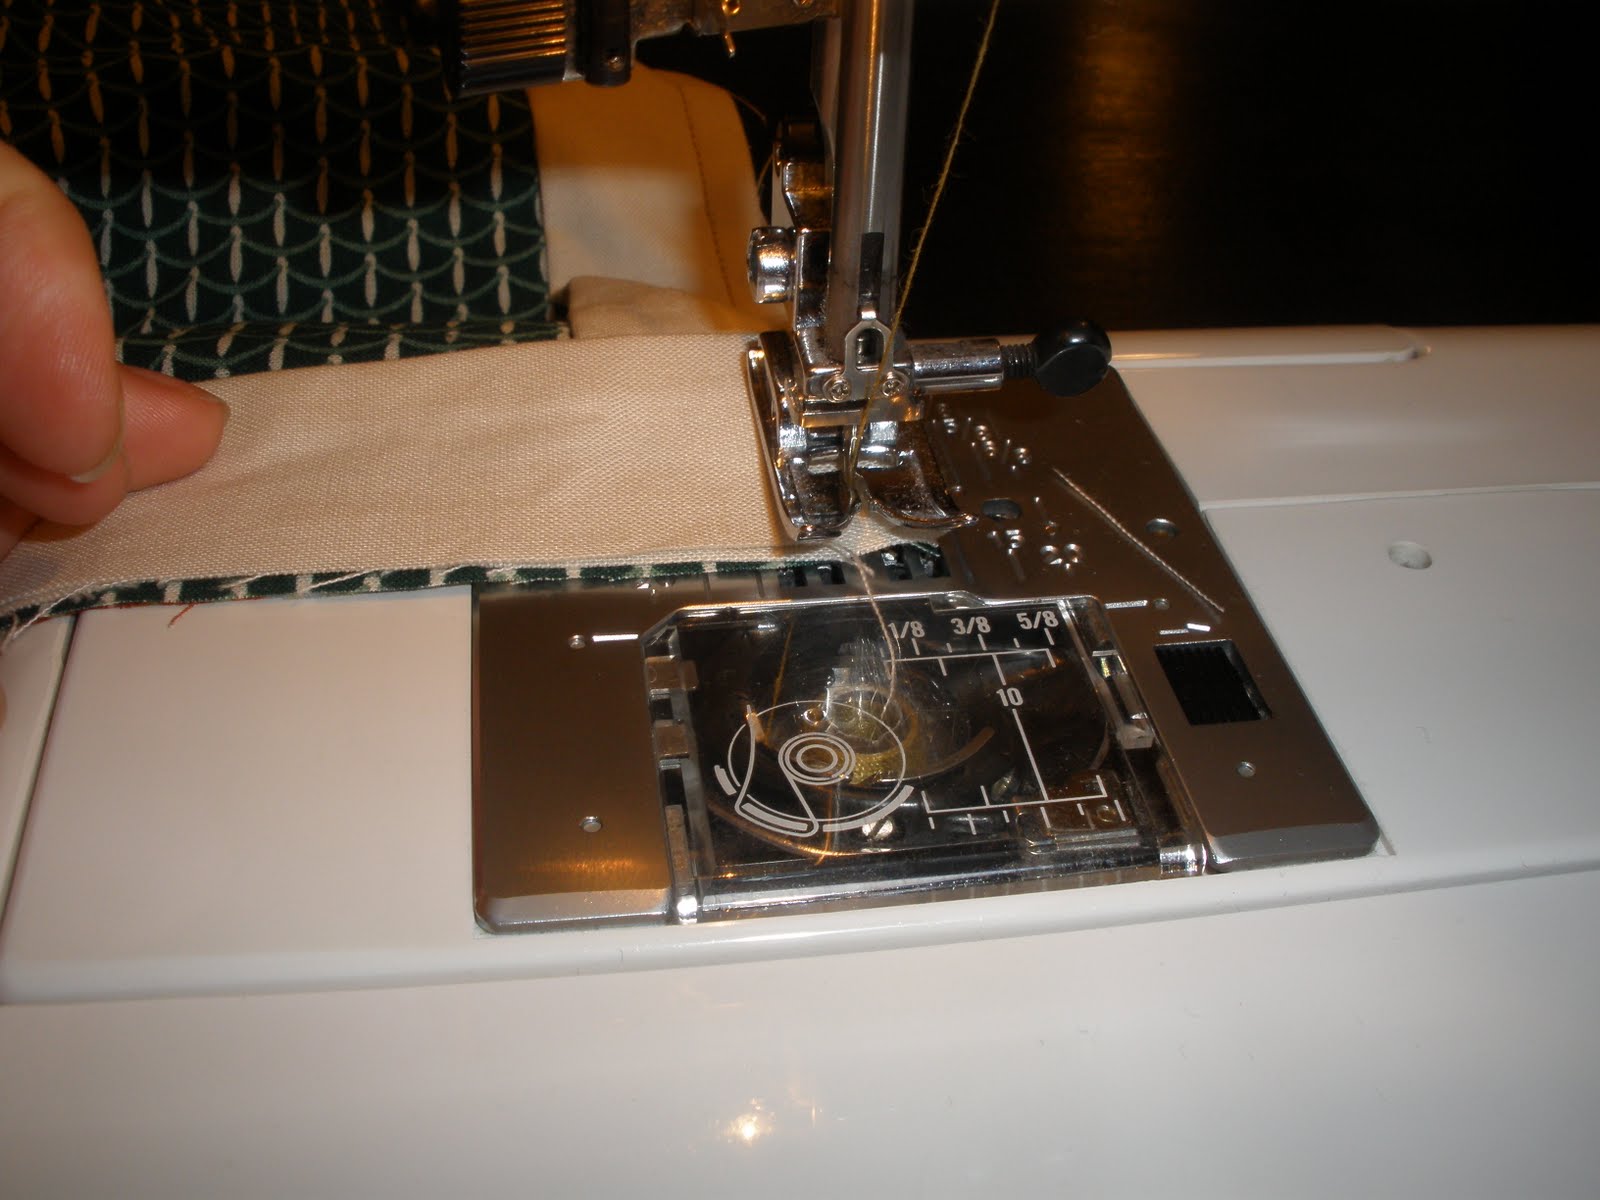
2. Place the folded fabric onto the BACK of your quilt with the raw edges on the edge of the quilt, place it about 6 inches from a corner, & start sewing with the fabric lined up to the edge of your binding about 6 inches down. A little trick I like to do is put in for your bobbin thread a color that matches the top part of your quilt because then when you are folding over the binding and it accidentally doesn't cover up your stitch (this will make more sense later) then at least the stitch is slightly camouflaged!
3. At the corner, sew all the way down to the edge, lift up the pressure foot (I don't cut the thread at all during this process) and fold your binding so it is parallel with your quilt like below:
3a. Then hold your fabric there while folding the binding back over.
3b. Put your needle down into your quilt & binding about 1/4" from each side.
3c. Put your pressure foot back down and start sewing again!
4. Once you've returned back to where you started, trim your binding to overlap a bit.
4a. Fold down your binding on one edge.
4b. Tuck in the other edge of your binding into the folded one (this prevents any raw edges so your binding doesn't fray). Sew over that and at least 3 inches over your beginning stitch.
5. Now you're ready for the LAST step! Turn your quilt over and simply fold the binding. All you have to do is sew! I like to do a decorative stitch here because it is more forgiving for crooked sewing, it covers more surface area to connect the binding to the quilt, and it can add a good "cute" element to a quilt!

Good luck in all of your binding endeavors! Are there binding tips that work well for you? If so, do share! That is the purpose of my blog after all! (Hope you don't mind all of the exclamation marks, it tends to be my favorite punctuation).