This quilt is great if you have scraps laying around! Naomi asked that I do a rag quilt tutorial as well; here it is!
Pro:Once you're done making your quilt top; the whole quilt is finished!
Con: Cutting the seams was my least favorite part.

Materials:
- Baby Flannel (I just used scraps so I don't have an exact yardage for you)
- Thread (a color matching the quilt)
- Basic sewing supplies, with walking foot optional
Instructions:
- Cut your squares 5 1/2" x 5 1/2" (you can do any size)

2. For this quilt, you'll be sewing on a 1/2" seam allowance. Put down a piece of masking tape on your sewing machine to help guide you, and remind you!
3. The batting is baby flannel, and I suggest purchasing a solid flannel that shows on both sides so you can't really tell which side is which. You'll need to cut these into the same size of squares.
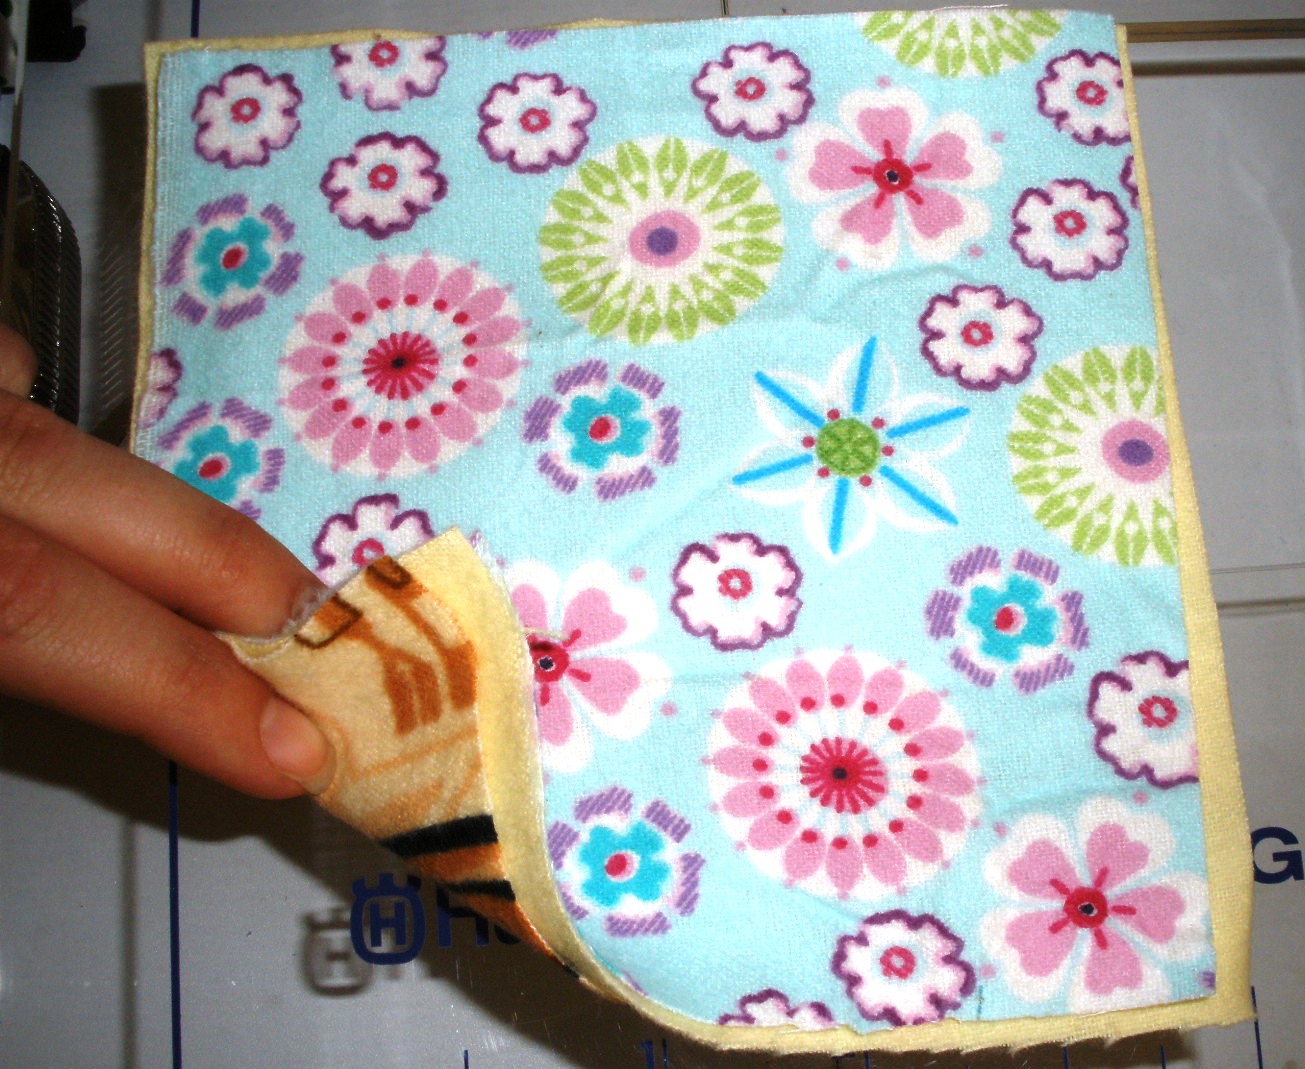

5. Stitch (at 1.5 length) together the two squares - NOTE: here is where the trick of the quilt is... you forget everything you've ever done with sewing and do the opposite!! So instead of putting the fronts of your two sandwiches together, you put the two backs together because you want the seam to be on top and visible.

6. Sew together each sandwich row by row, and then connect all of the rows together.

(This picture is to show you how I connected each row's seams. I folded one below and one above so my sewing machine wouldn't have to sew over 12 layers of fabric at one time! Go really slowly here so you don't break a needle.)
7. Sew around the edge of your quilt still with a 1/2" seam.

8. Clip your seams about 1/4" apart - warning: get some good small fabric scissors, otherwise this is a hard process! Also, I'd suggest doing this while watching TV or in spurts because it can become tedious.
9. Wash your quilt.
10. Dry & enjoy your quilt!

