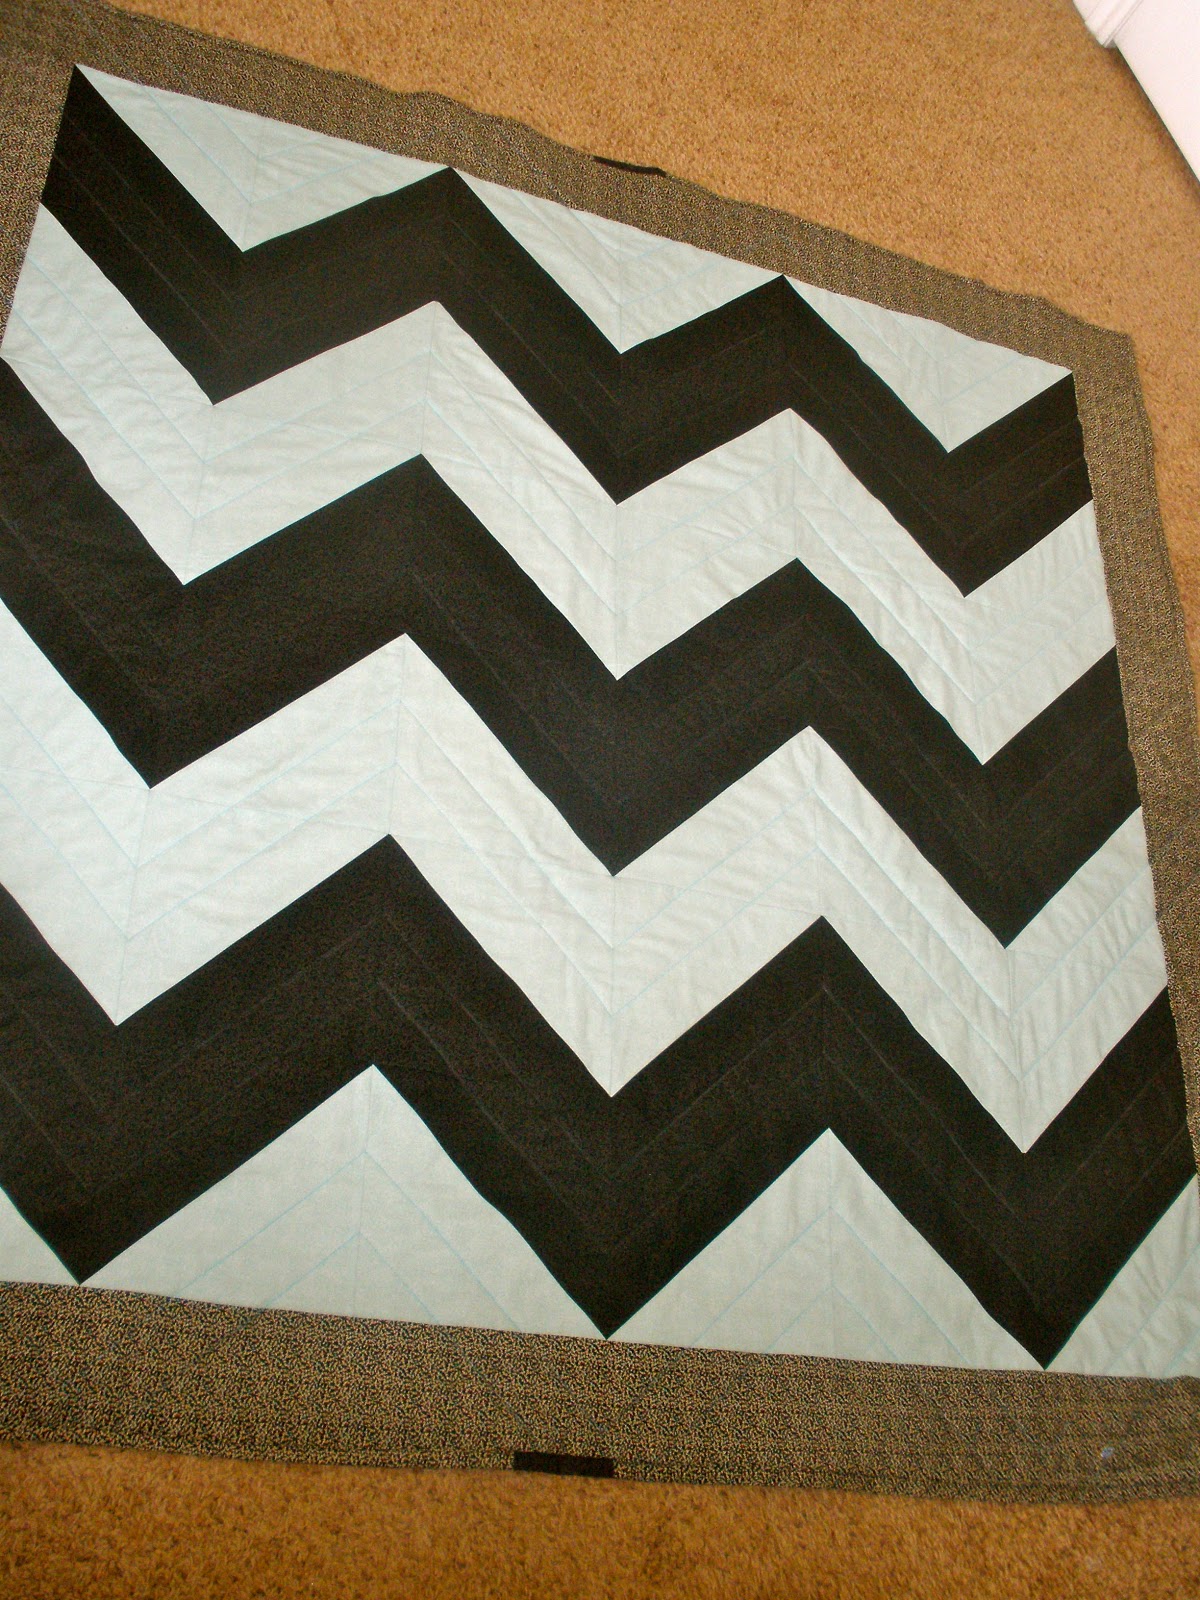
My amazing sister gave me this pattern/idea for this CUTE chevron quilt! Chevron is all the rage these days and with the colors I wanted to use the quilt came out as great as I imagined it to be. My husband even tried to claim it for himself but it was too late! I made this for a wedding present and got inspiration for the colors from the wedding announcement. This looks like white and black but really it's a very light teal with black. (If you click on the pictures you might be able to tell better.)
I made this quilt in a time crunch with two kids on my hands...it can be done!! Just tell yourself to do one step each day and it will be done in 10 days!

Ok let's get down to it!
Fabric needed:
- 2 colors of fabric = 60" cut of each (1 yard & 24")
- border fabric if you desire = 30" cut
- fabric for the back = 4 yards
- batting = twin size (you'll have to cut it down)
The pattern for this is fairly straight-forward so I didn't take pictures.
1. Cut your two colors of fabric in to 10" strips, then 10" blocks
2. Take one color and draw a straight line from one corner to the other diagonally. Do this on every square you have for that color
3. Put one of each color square face to face on top of the other and sew 1/4" ON EACH SIDE of the line you just drew from step 2
4. Cut on the line you drew in step 2
5. Open what you have sewn together and iron the seams down
6. Place your blocks to make the chevron pattern and sew them together row by row (make sure to line up the tips of the triangles to make sure your points look spot on after sewing!) You also might have some left over blocks so don't be frightened :)
7. After sewing together the whole chevron print top I added a 5" border. I cut 5" strips, sewed them all together end to end, then sewed on the top and bottom, then sides.
8. For the back I sewed together the fabric side by side
9. Lay out the back fabric, the batting on top, then the quilt top, & pin it. To sew through the quilt I measured 2.125" (it's half of 1/4") from the chevron print and marked it with chalk. Do little bits at a time so the chalk doesn't disappear and you have to mark it again!
10. For the binding I folded to the front the back fabric...so much faster! However I wouldn't say the quality is as great as putting on normal binding.
This is the best picture I got...guess I better try harder next time!!