Tuesday, September 28, 2010

Quick-Tip: Stippling


A good way to keep a firm grim on your fabric/quilt while stippling is to wear gardening gloves. There are special quilting gloves you can buy, but this is the cheaper (and just as good) alternative! 

Thursday, September 23, 2010

My First "Service In September" Project


I took a quilt pattern, made it a little smaller, and created a wall hanging for my aunt who has us over for dessert once a month and babysits for us continually! (We're deeply indebted, but hopefully this helps her feel appreciated.)

You can get the quilt pattern here

If you'd like to create something for someone, check out my Service In September post and make your pledge!

Tuesday, September 21, 2010

Quilt Block: Stack 'N Shuffle

Tracey wanted an idea for a quilt block, here's one that is never the same twice!


1. Take some freezer paper or butcher paper and cut it to the size you'd like to start out with for your block. Do remember, however, that because of seams and trimming the block will be smaller in the end.
          - My block started out as 21 1/4" x 16 3/4"


2. Create your own cut lines on the paper (number of pieces should equal number of fabrics used). Don't do more than ten cuts/fabrics, or less than three. 
         - I have five fabrics and will make five pieces to cut out.

3. Cut each piece of fabric the size of your block.

4. Stack fabrics - a trick to keeping the fabrics from shifting when cutting is to run an iron over each one before stacking. Also, make a note of which fabrics are where if you are concerned you'll lose track of what is where!

5. Secure the paper on top of all of your fabrics; yes, you'll cut the paper too when you cut your fabrics. I used pins but you can also use weights or whatever else you can think of!

6. Cut through your lines. Below is an example of my first cut:

7. Now, in piece #1, move the 1st piece of fabric to the bottom; 2nd to the bottom; repeat that pattern until the last piece where you DO NOT SHUFFLE it AT ALL! 

8. Sew all pieces together for each layer. A few things to remember: sew from the inside of the block towards the outside, & sew pieces together in descending order from your last cut. Ex: I made five pieces, so I sewed together 5 to 4, etc. 

9. Iron sewn-together blocks separately. 

10. Trim each square down to the smallest block size you have so they are all the same size.

11. Now you should have as many blocks as you did fabrics and they should all be different  with like fabrics! This is a fun block to do because you can make up your own pattern and nothing ever turns out the same. 

If you are interested in seeing more ideas on quilt blocks, I found this helpful website:


Good Luck! 


Monday, September 13, 2010

Service In September

"Service to others deepens and sweetens this life while we are preparing to live in a better world. It is by serving that we learn to serve. When we are engaged in the service of our fellowmen, not only do our deeds assist them, but we put our own problems in a fresher perspective. When we concern ourselves more with others, there is less time to be concerned with ourselves!" - Spencer W. Kimball


I believe in the principle of sharing our talents with others, especially through service. That is why I have decided to challenge YOU (and myself) to help serve others around us. If you have a crafty talent, pledge with me to do something for someone else. You may or may not know them personally, but please join me and make something for someone else! 


My pledge: 
I pledge to make a quilt & a table runner by the end of September. (Details to come on who it will be.) 


So, will you join me and pledge to make something and give it to another? Expecting nothing in return?
I'd love to hear what you plan to do (through commenting on this post), and when you've given your item away send me pictures so I can post about all the goodness that has occurred! 


"May we ponder carefully, deeply, and prayerfully our roles in life, where we can give the greatest service, to whom we can make the greatest contribution, what we should do with our lives and with our special skills and training. Our success will be measured by what we can give of our lives and our contribution to others rather than what we can get and receive from others." - Again, Spencer W. Kimball

Saturday, September 11, 2010

Quick Tip: Bordering Your Quilt


So I have this panel (shown in the middle), and plan to make this quilt up for Christmas! What I love about this quilt is that the outer border is just one fabric. You can take any striped fabric, stick it around your quilt in a perpendicular fashion, and your quilt will look more complex than it really is! You can also sew a line through some of the stripes (with the batting and bottom layer of the quilt) to make it look even more like separate pieces of fabric. 

Thursday, September 9, 2010

Rag Quilt Tutorial

This quilt is great if you have scraps laying around! Naomi asked that I do a rag quilt tutorial as well; here it is!

Pro:Once you're done making your quilt top; the whole quilt is finished!
Con: Cutting the seams was my least favorite part.


Materials:

  • Baby Flannel (I just used scraps so I don't have an exact yardage for you)
  • Thread (a color matching the quilt)
  • Basic sewing supplies, with walking foot optional 
Instructions:
  1. Cut your squares 5 1/2" x 5 1/2" (you can do any size)
2.  For this quilt, you'll be sewing on a 1/2" seam allowance. Put down a piece of masking tape on your sewing machine to help guide you, and remind you!

3.  The batting is baby flannel, and I suggest purchasing a solid flannel that shows on both sides so you can't really tell which side is which. You'll need to cut these into the same size of squares. 


4.  For each square: place the bottom fabric face down, place your batting on that, and then your top fabric face up. (Some call this a "sandwich"). Make two sandwiches to start with.


5.  Stitch (at 1.5 length) together the two squares - NOTE: here is where the trick of the quilt is... you forget everything you've ever done with sewing and do the opposite!! So instead of putting the fronts of your two sandwiches together, you put the two backs together because you want the seam to be on top and visible. 


6.  Sew together each sandwich row by row, and then connect all of the rows together.
(This picture is to show you how I connected each row's seams. I folded one below and one above so my sewing machine wouldn't have to sew over 12 layers of fabric at one time! Go really slowly here so you don't break a needle.)

7.  Sew around the edge of your quilt still with a 1/2" seam.

8.  Clip your seams about 1/4" apart - warning: get some good small fabric scissors, otherwise this is a hard process! Also, I'd suggest doing this while watching TV or in spurts because it can become tedious. 
9.  Wash your quilt.

10.  Dry & enjoy your quilt!

Monday, September 6, 2010

Felt Play Food - Sugar Cookie Tutorial

Naomi wanted to know how to make felt food... 
here is my star-shaped sugar cookie tutorial! (With sprinkles of course).

1. Make a star-shaped pattern on Microsoft Word (under "shapes") and cut it out - one of the white and one of the tan felt. In the picture above I made two so that's why there's two of each!
2. Cut out and stitch on your sprinkles - I think beads would be really cute here but I didn't have any so I improvised with little felt circles! 
3. Start stitching around the edges - I started with the inside of the tan felt (so the end of the thread stays inside the cookie). Then, I stuck in the needle in the top like the picture above, and back around the tan felt again like the picture below.

4. Once you've stitched around the edge on three points of the star, stick some batting in.
5. Finish stitching, and you have your felt sugar cookie! 

- I took the liberty of looking up other felt patterns and found this amazing blog with TONS of patterns! 
If you look to the left of the page you click on, she has other tutorials for felt food like green beans, carrots, broccoli, kiwi, french fries....etc! (I think I found a new favorite blog!)

Friday, September 3, 2010

Tutorial: Car Seat Canopy

Jamie, you wanted to know how to make a car seat cover...
here is my version!


1. Cut your 2 pieces of fabric as close to 36 inches as you can (this way you only have to buy 1 yard of your top fabric) x 40". I buy 1 1/4 yard of my bottom fabric.
2. Place the two pieces of fabric right sides together 
NOTE: if you want to applique a design onto your front (like I did with "BSU", you'll want to put that on first before step number two.
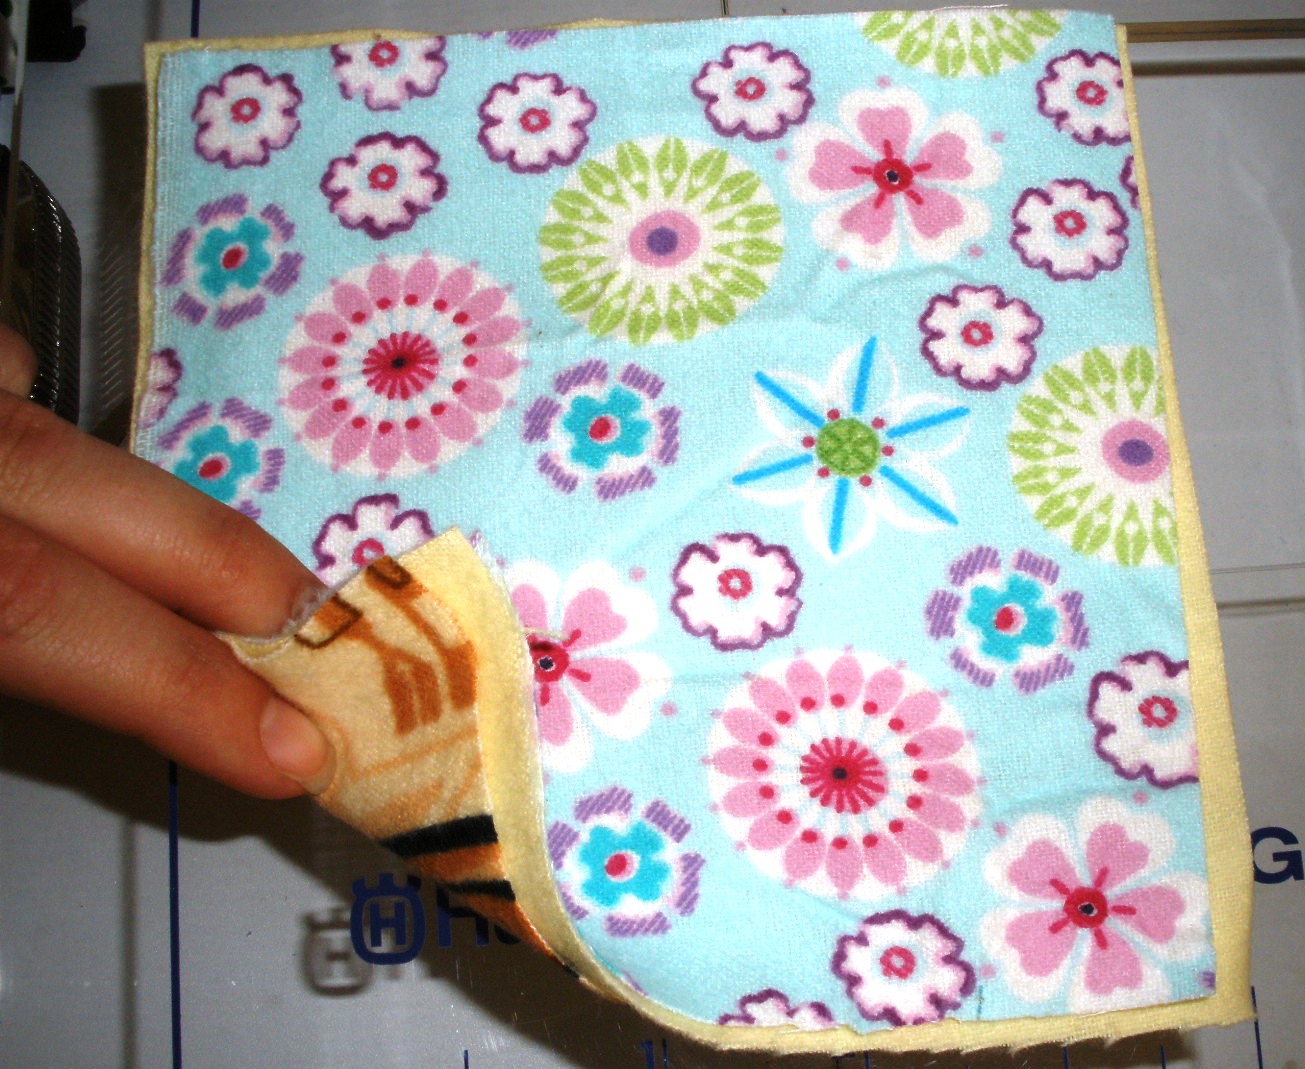
3. Cut 2 pieces for straps 3 1/2" x 15 1/2"
4. To make straps; fold them hot dog style, and sew all but one edge. Turn it inside out, fold in the open edge, and then sew around the edges (1/4" seam). I used a different color of thread here as an accent color. See picture below!
5. Now sew your two large pieces of fabric (remember right sides together) leaving about a 6 inch opening.
6. Turn it inside out, then fold in and pin the opening.
7. Sew around the edge of the whole cover and as you do so, this should close that 6 inch opening. This is where you can do a fun decorative stitch and even pick a different top and bottom color of thread to make things interesting!
8. Lastly, sew on your straps! You'll want to fold them in half and pin them 14" from the top and 12" from each side of your cover. Sew a little square to hold the strap. Sew it to all the layers of fabric! I also went over the square twice to really make sure it holds. 


- The straps are just made to be tied to your car seat. If you tie them in a knot it ends up looking really cute.
- Have fun, and be creative! You can do more than one fabric, like I've done here. Or if you only have scraps you can sew strips of fabric together until it is long enough to make a cover. Add your own personal touch!
- I made the letters by typing them in in Microsoft Word and then formating them to only be outlined, I printed them out and cut them out, using them as my pattern to cut the fabric out. I did a zig-zag stitch to sew them onto the orange fabric.

Enjoy and let me know if you have questions; I want to make sure this works for you!

Wednesday, September 1, 2010

Quick-Tip for Binding A Quilt

If you are binding a quilt with 2 1/2 x 40" binding strips, follow these guidelines:

Kids: cut 6 strips
Lap: cut 7 strips
Twin: cut 9 strips
Queen: cut 10 strips
King: cut 13 strips

If you have any leftovers, keep them! Label them in a gallon-sized ziplock as "binding". One fun thing I like to do with binding is cut up a lot of different fabrics (ex: different fabrics used within the quilt I am binding) and sew those together for my binding. If I have leftover pieces of binding it saves me some time!