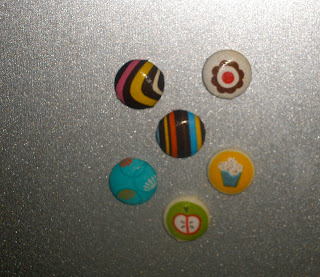
With about two square inches of fabric, I can make:
-earrings
-rings
-magnets
-hair decor (clips, flower centers, etc.)
So here's how the cover button works:
Grab some fabric (there's a pattern on the back of the package your cover buttons come in).
Place the cover button on the back of the fabric:
Put the fabric and cover button into your mold (comes with the package of buttons).
Trim the fabric down so there's about 1/4" sticking out.
If you want to make anything other than a button - you'll want to use some needle nose pliers to remove the hook on the back.
This is what the back will look like when the hook is pulled out.
Now fold in the fabric & place the back on (rough side up).
Sorry this picture is blurry! You'll put the blue piece on top to push the back into the top of the button. However I must say that I used the bottom of the needle nose pliers and that worked faster and easier than this blue piece! (It comes in the package as well)
Here's what it'll look like when all pushed in:
Take out the button and wah lah! A cute cover button that I am going to make into a magnet!
Here's all the magnets I made with cover buttons:
More magnets:
Make rings:
Make earrings:


No comments:
Post a Comment