Here are the steps I follow to bind a quilt:
(A walking foot works nicely for this task)
1. Cut your binding fabric in 2 1/2" strips, sew strips together end-to-end, iron in half wrong sides together.
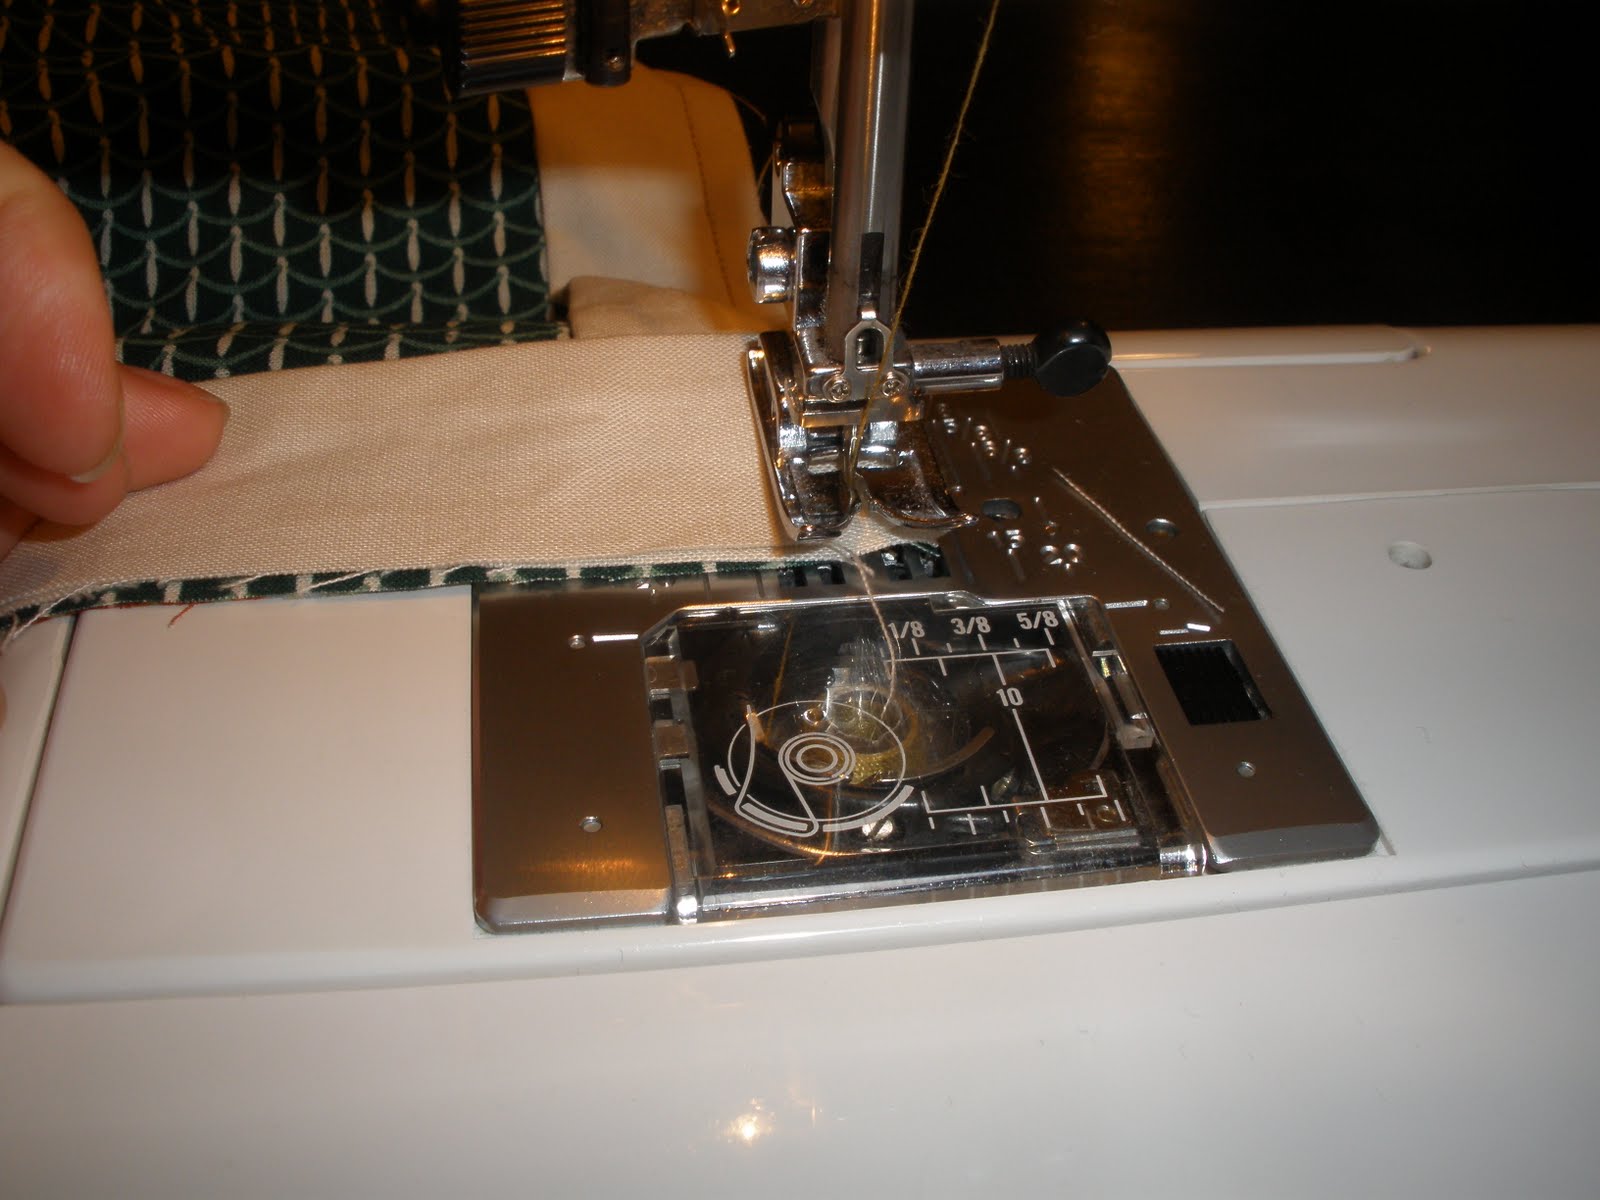
2. Place the folded fabric onto the BACK of your quilt with the raw edges on the edge of the quilt, place it about 6 inches from a corner, & start sewing with the fabric lined up to the edge of your binding about 6 inches down. A little trick I like to do is put in for your bobbin thread a color that matches the top part of your quilt because then when you are folding over the binding and it accidentally doesn't cover up your stitch (this will make more sense later) then at least the stitch is slightly camouflaged!

3. At the corner, sew all the way down to the edge, lift up the pressure foot (I don't cut the thread at all during this process) and fold your binding so it is parallel with your quilt like below:

3a. Then hold your fabric there while folding the binding back over.

3b. Put your needle down into your quilt & binding about 1/4" from each side.
3c. Put your pressure foot back down and start sewing again!

4. Once you've returned back to where you started, trim your binding to overlap a bit.

4a. Fold down your binding on one edge.

4b. Tuck in the other edge of your binding into the folded one (this prevents any raw edges so your binding doesn't fray). Sew over that and at least 3 inches over your beginning stitch.

5. Now you're ready for the LAST step! Turn your quilt over and simply fold the binding. All you have to do is sew! I like to do a decorative stitch here because it is more forgiving for crooked sewing, it covers more surface area to connect the binding to the quilt, and it can add a good "cute" element to a quilt!

Good luck in all of your binding endeavors! Are there binding tips that work well for you? If so, do share! That is the purpose of my blog after all! (Hope you don't mind all of the exclamation marks, it tends to be my favorite punctuation).
No comments:
Post a Comment