Tuesday, June 29, 2010

Giveaway Coming Soon!

I am headed to my hometown Boise, Idaho. When I return home, I plan to do my first official giveaway!! Drum roll please .... I'll be giving away an APRON


Here's a sneak preview of some that have already been made:

Friday, June 25, 2010

Binding

Here are the steps I follow to bind a quilt:
(A walking foot works nicely for this task)

1. Cut your binding fabric in 2 1/2" strips, sew strips together end-to-end, iron in half wrong sides together.
2. Place the folded fabric onto the BACK of your quilt with the raw edges on the edge of the quilt, place it about 6 inches from a corner, & start sewing with the fabric lined up to the edge of your binding about 6 inches down. A little trick I like to do is put in for your bobbin thread a color that matches the top part of your quilt because then when you are folding over the binding and it accidentally doesn't cover up your stitch (this will make more sense later) then at least the stitch is slightly camouflaged!
3. At the corner, sew all the way down to the edge, lift up the pressure foot (I don't cut the thread at all during this process) and fold your binding so it is parallel with your quilt like below:
3a. Then hold your fabric there while folding the binding back over.
3b. Put your needle down into your quilt & binding about 1/4" from each side.
3c. Put your pressure foot back down and start sewing again!
4. Once you've returned back to where you started, trim your binding to overlap a bit.
4a. Fold down your binding on one edge.
4b. Tuck in the other edge of your binding into the folded one (this prevents any raw edges so your binding doesn't fray). Sew over that and at least 3 inches over your beginning stitch.
5. Now you're ready for the LAST step! Turn your quilt over and simply fold the binding. All you have to do is sew! I like to do a decorative stitch here because it is more forgiving for crooked sewing, it covers more surface area to connect the binding to the quilt, and it can add a good "cute" element to a quilt!

Good luck in all of your binding endeavors! Are there binding tips that work well for you? If so, do share! That is the purpose of my blog after all! (Hope you don't mind all of the exclamation marks, it tends to be my favorite punctuation).

Tuesday, June 22, 2010

Tid Bit Tuesday

One great way to clean your sewing machine is to buy some compressed air in a can! If you don't have any of that readily available, use a q-tip to grab the lint out. Keeping your machine clean is important because otherwise it may not sew smoothly or could sound funny.

Saturday, June 19, 2010

10 Step Shirt - Ruffle Me Up!

Ruffle Me Up!
- After almost giving away these shirts, I thought I might be able to get just a bit more use out of them! Here is my 10 step process to spice up any of your plain shirts! -
Before:
1. Cut two 3" strips the length of your fabric. My shirts are size small and two strips covered from top to bottom. If you think you'll need more length, just cut an additional strip of fabric.
2. Sew the strips together end-to-end.
3. Fold your long strip in half, right sides together and sew straight down.
4. Put the seam in the middle
5. Sew only one edge together (fabric still right sides together)

6. Turn inside-out and press with the seam in the middle
7. Put your fabric seam side up on your sewing machine and sew straight down with a stitch length of 5.0
8. Ruffle the fabric
9. Start pinning with the end of the fabric that you have sewn together. Make sure the fabric is flat because it will try to curl on you.
10. Change stitching back to its normal measurements and sew! Start sewing on the same end as step 9.

**Back stitch anytime you start or finish sewing your ruffle onto your shirt. Also, stop sewing about an inch away from where you'd like to stop because you'll need to trim the fabric. Leave an extra 1/4" of fabric at least so you can fold the fabric inward and finish sewing it onto your shirt. That way you have no salvage edges that will fray.

Wednesday, June 16, 2010

3 Step No-Sew Headbands


I debated whether or not this could really be put up on my blog...seeing as how there's no sewing involved! But it's such a great idea and easy process that I had to post about it. The size of this headband is for infants/toddlers. They are my favorite headbands to put on my daughter because they don't squeeze her head and the nylon is so soft on her skin!

1. Take an old or new nylon sock

2. Bring the two ends together and tuck the toe part into the opening on the other side. Then fold that in half. Put in a dab of hot glue into the middle and press (hot glue will seep through the layers since nylon is so thin).


3. Simply add your flower with another dab of hot glue! You can also put on a bow, lots of ribbon, a bead in the middle of the flower (as shown below), or little strips of fabric. I like adding the "pretties" to the middle - like anything that resembles a bracket so you can just punch through the flower and you're done! Remember to add those types of things before you hot glue the flower on.

Sunday, June 13, 2010

Fabric Flowers

I've recently entered my daughter into a local baby contest (for fun of course...I don't plan on making an appearance on Toddlers & Tiaras!) But I wanted her to have something to wear that no other baby would have. So I took a white onesie and added some fabric flowers to it. Here's how to do the flowers...it is so simple and a cheap way to dress anything up!

I made three flowers in all, and improvised with the width of the fabric. I did 2 1/2", 1 1/2" and 1". You can change the length of the strip of fabric depending on how big or small you want the flower to be. My biggest flower here was a strip of fabric about 10-12" long. Once your strip is cut, fold the fabric in half wrong sides together (like below) and sew on the raw edge side. Make sure you keep your thread nice and long on the ends when you  start and finish sewing...you'll see why in a minute. Also, set your sewing machine to have a long length stitch - I did mine 6.0.

See how my stitches are long? This is key to ruffling your fabric! Now take one long strand of thread and hold onto it while pushing your fabric towards the middle. Do the same thing on the other side.
Now start rolling the strip from one end to the other. It will turn into a flower! I safety pin the end of the strip to the rest of the flower to make sure it stays rolled up...this is temporary.

And you're ready to hand stitch the bottom together so your flower stays together. I'd use a thread that matches but this was already in my needle and I thought you would be able to see it better anyway! I start where my safety pin is and then take it out. With your needle, just go back and forth various different ways so that the flower stays  together.
And walah! You have yourself a cute decoration for anything you like! I just attached my flowers to the shirt with a safety pin because this is temporary but you can hand stitch it in as well.

Here's the outfit all together! I made the shoes as well but the pattern has a copyright - you can get the shoe pattern at makeitandloveit.blogspot.com or makeitandloveit.etsy.com. They are called Abigail Booties and they are simple as well! I make them in one day with a baby girl on my hands and 2 hours without!!

Wednesday, June 9, 2010

The "Foot" of Sewing

Here are a few of my favorite pressure "feet" to sew with!


This is a darning foot for your sewing machine. It is for stippling designs onto quilts or any other craft you may be doing! This foot allows you to do free-hand designs rather than just shooting through your quilt in a straight line with a regular pressure foot. (The one that comes already on your sewing machine).
A good way of practicing free-hand motions with your darning foot is to create a design on regular paper and then sew on the paper without any thread in your machine. You can also try this with your straight foot if you want to practice sewing straight, on a small curve, or zig zags.


This is a walking foot. It is used best when you have thick layers of fabric that you'd like to keep all together when sewing. I would do only straight lines with this - I've broken two needles on my walking foot trying to do a decorative stitch! On your sewing machine, there is a traction device to pull the fabric through as you are sewing..what this foot does is it has another traction device on top so all of your fabrics you are sewing together are pulled through at the same exact time. It is nice to have so that at the end of sewing two pieces of fabric together, you aren't stuck with one longer than the other!

Thursday, June 3, 2010

Quilt #1

Here is a simple quilt for you to start on! I made this quilt out of scraps but if you want to purchase new fabric for it I'd get 1/3 of a yard of each. Use 1/4" seams while sewing. I grouped the fabrics randomly so there is no rhyme or reason to where they are placed!

1. Cut your fabric for the blocks into strips that are 2 1/2 inches wide. The lengths will vary if you are using scrap fabric but it is best to just make the longest cut you can.

2. Sew together your strips in sets of three. You'll use these for the long strips down the side of the block as well as one set on each side of the middle three strips. (The middle three strips have that white square of fabric so there's no short cut to making those!)

4. Now cut 6 rectangular 3-strip sets 18.5" long.

5. Do the same type of cut in step four 12 times and this time only 6.5" long.

6. Cut individual strips of fabric into
a) 12 single strips 2.5" x 6.5"
b) 6 single strips 2.5" x 4.5"
c) 6 squares 2.5" x 2.5"

7. Sew together from step six B and C to make what we'll call D!

8. Sew together from step six A to D, then D to A again. That will make the middle three strips in the block.

9. Now sew together your strip sets from steps 5 & 8. Basically you sew one 6.5" long set to the middle strips you made in step 8, and then sew that to another 6.5" long set. (I apologize for the lack of pictures but I already made this quilt before making this blog!)

10. Sew step 9 to step 4. Repeat steps 9 & 10 until all of your blocks are finished! Remember to measure all of your blocks and make all of them equal to the size of your smallest block.

11. The inner border (brown fabric) is 5.5" wide with various lengths. Cut first 6 strips 18.5" long. Then sew those to your blocks. It will be like this: brown strip sewn to a block, then brown again with a block, etc.

12. The top, middle, and bottom strip of brown fabric measures 5.5" x 58.5" (This second measurement may vary due to the actual size of your blocks so just cut off any excess material if needed).

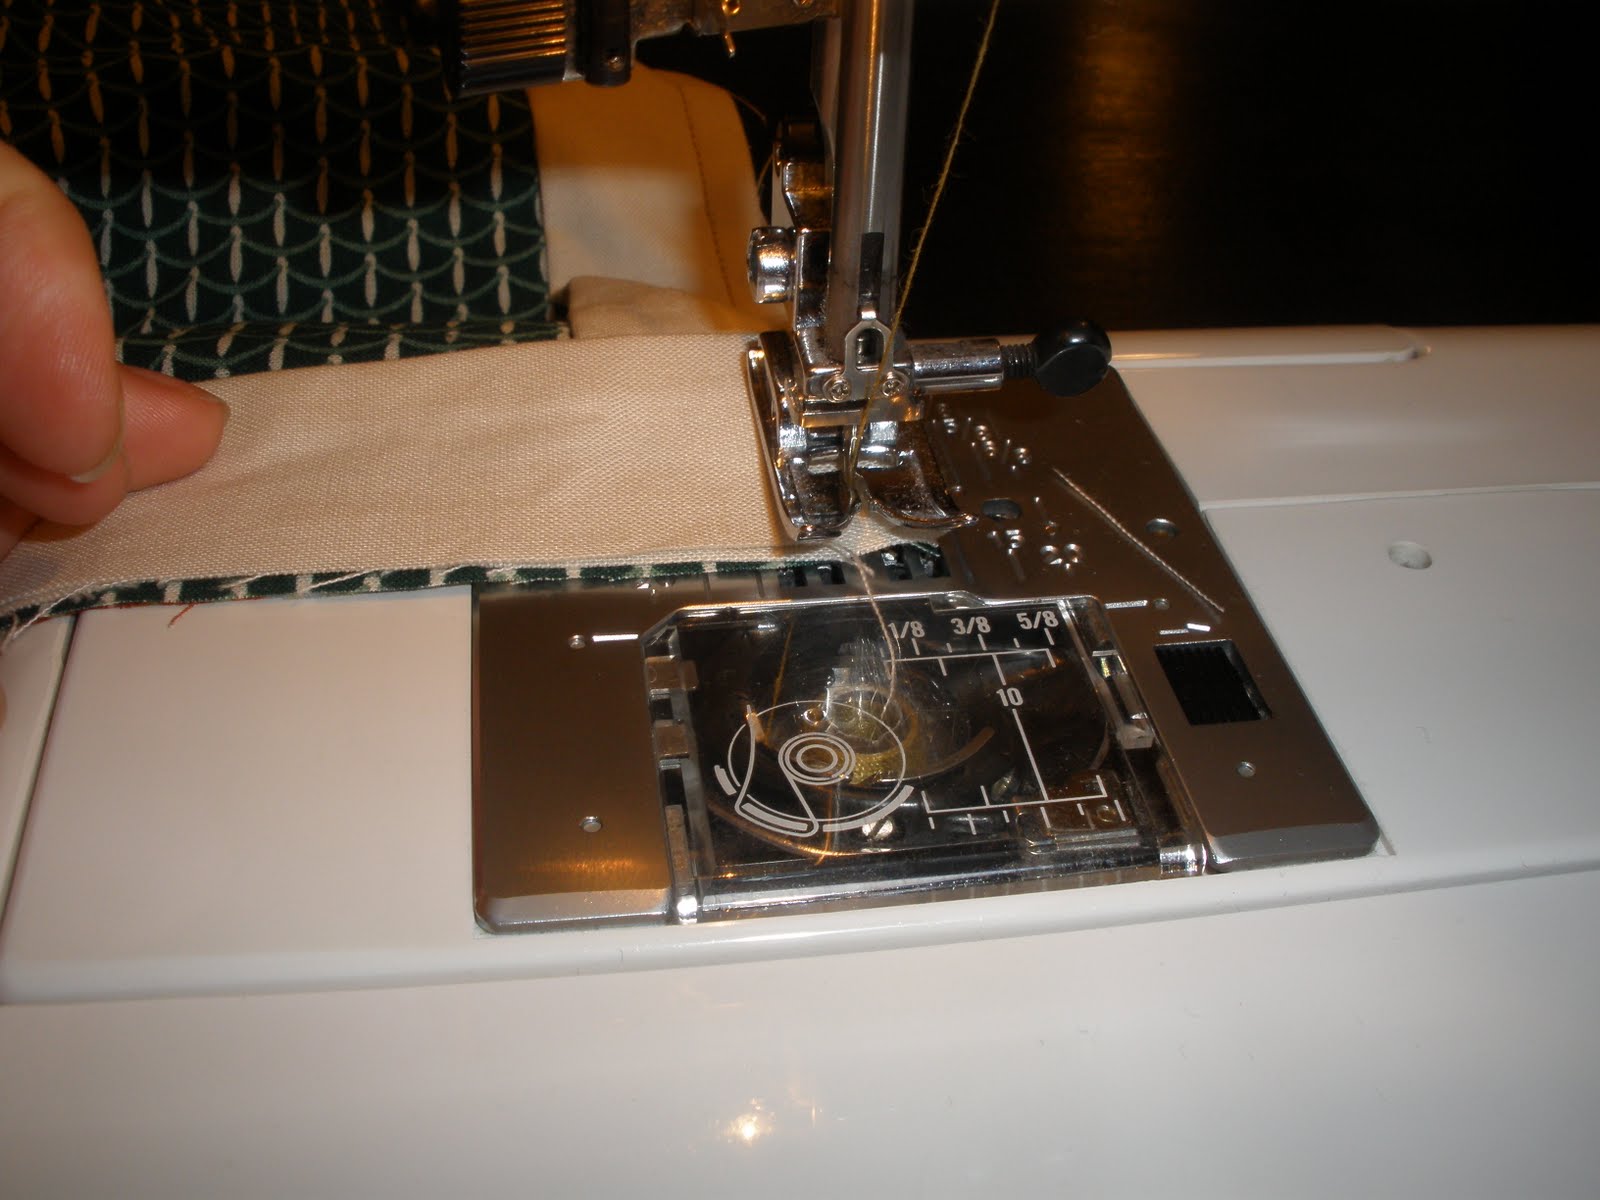
13. As for the binding, I usually use (as I did on this quilt) leftover fabric. Sew together end to end your leftover fabric strips that are 2.5" wide. Iron the seams, then iron the long strip folded in half with the back sides together. I plan to go over binding a quilt soon so I'll explain the process at that time!

Good luck and I promise this is much simpler to make than it is to write down all the steps! So take it one step at a time and if you have any questions write it in the comments section and I'll get back to you ASAP!

Tuesday, June 1, 2010

Preparing Fabric

   Before you start sewing away on your new project, you've got to prepare your fabric. Here are some tips to help you with that!

1. There is no need to prewash any "pack" of preassorted fabric; ie. charm packs, fat quarters, jelly rolls, etc. If you are making something from a pack of fabric and buy additional fabric to go along with it, do not prewash that either.

2. Flannel and fleece do not need to be prewashed! (Unless you are planning to match it with another type of fabric that has been washed).

3. Any cotton fabric will need to be prewashed.

4. You can put your fabric in a "quick rinse" cycle, or simply put it in a bucket of warm/hot water and let it soak for a bit. Just as long as you get the fabric in some warm water so it will pre-shrink. Do remember to put like colors together (just like regular laundry) so colors don't run.

5. If you grab your fabric out of the dryer soon enough, you won't have to iron it!

**The most important thing to remember is that if you prewash one fabric, ALL of the fabrics you use need to be prewashed!! The opposite is also true; if you do not prewash one fabric, do not prewash ANY of your fabrics!